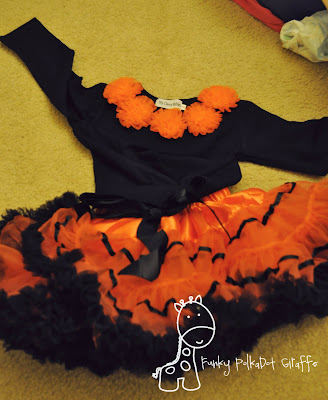
 Who's ready for the korker tutorial?
I know there are lots of tutorials out there,
but I wanted to share one with you because I always get,
"How do you get yours so poofy? Mine are never poofy."
Well, here ya go!
Step One
Gather supplies.
You'll need:
1/4" wooden dowels, 3/8" ribbon, clothes pins, elastic cording,
glue gun, scissors, lighter, covered alligator clip

Step Two
Hold ribbon at a slight angle and attach to the dowel using the clothes pin.

Keep going until you have as many korker dowels as you need
and put them on a cookie sheet.
I like 30-36 korkers in a bow,
and since I cut my 12" korkers into 2" lengths,
I need about 5-6 korker dowels for one bow.

and bake for 30 minutes.
I'm always impatient for my oven to preheat,
so I pop them in before it's warm and make it 35 minutes.

Step Four
When your 30 minutes is up, remove the cookie sheet
and allow ribbon to cool completely before removing the clothes pins.
(I don't starch, but some people do.
If you like your bows a little more crisp,
take a can of starch and spray it on the dowels before they cool.)

Step Five
Remove the korkers from the dowels.
You can either start at one end and untwist the ribbon off the dowel,
or slide it right off if the ribbon doesn't snag on the dowel.


Step Six
Cut!
If you used 12" dowels like I did, then your korkers will be 12" long.
I like my korker pieces 2" long,
so I fold them in half and cut once.
Then, I have TWO 6 inch korker pieces.

I repeat with the other 6" piece and then have SIX 2" pieces.
THE BEST USE OF A CEREAL BOX EVAH!
KORKER BOX!
KORKER BOX!

Step Eight
Cut a piece of elastic cord about 6-8" long
and slide in down in the slits of the korker box.

Step Nine
Start layering the korkers into the box,
using the blocks to keep your korker pieces centered over the elastic cord.

Step Ten
Then tie the elastic cord together.
If you use a longer piece of cord this is A LOT easier.
However, I hate being wasteful, so I try to use a shorter piece,
but it makes it trickier to tie the knot.

Once you've got it pretty tight,
pull the korker up out the korker box and PULL TIGHT!
Then finish with a square knot.


Fine Print:
Please feel free to use this tutorial for your personal use. Please be kind and give credit where credit is due. Any questions or comments please do not hesitate to contact me.
This is going to be the MEGA post,
because now here are the winners of my giveaway
and Lady Cupcake Corner's giveaway.
My winner is #35
The Galloway Clan said... The best thing about my week was getting an old friend from elementary school to babysit my tot for me in a couple of weeks and later this month. I know he'll be in good hands and will have a blast.
-Syl
and the FIVE winners of the cupcake keychains are:
#9
-
The pretty in pink coasters and the painting. The painting is beautiful.
#11
-
I hearted the shop and my favorite items are not in the shop right now, but are on your blog post: the 2 cupcake card holders are my very favorites!
#8
-
I love the teal coasters and the blue polka dot squiggle magnets.
#17 The Galloway Clan said... I definitely heart this shop! I la-la-LOVE the teal cupcake keychain and the retro magnets.
-Syl
CONGRATS FRIENDS!!!!
You have 48 hours to respond to my email and claim your prize!
NOW!
Even though NO ONE joined in my linky party last week,
I'm not going to let it die :)
I love getting REAL mail.
So I thought it would be fun to do a linky party on Mondays
called- What's in your mailbox? Mondays.
And we can share the awesome stuff we got in our
actual
snail mail
real life mailbox
during the previous week.
So, what's in your mailbox this past week that you thought was extra cool or special?
This was in mine :)
Happy Monday everyone!
Link up below!
Link up below!
I'm linking up here!


No comments:
Post a Comment